Edge Security with CloudFlare Zero Trust

On this blog post we will look into some of the advantages in using cloudflare to add security to our network, oh by the way, all this is free! 🤑
What is Zero Trust?
Cloudflare Zero Trust adopts a proactive security approach by considering every
request as potentially untrusted, regardless of the source.
Imagine you have a website and you want to block certain countries to not be able to visit it.
Maybe you have an application running on a different port and you want to create a reverse proxy to that application
or maybe you have an app which controls the back end of your server and you only one this
specific IP from your VPN to be able to connect to it.
Or maybe you want to add an authentication layer in order to make
your app more robust!
Cloudflare will help you achieve just that.
How it works
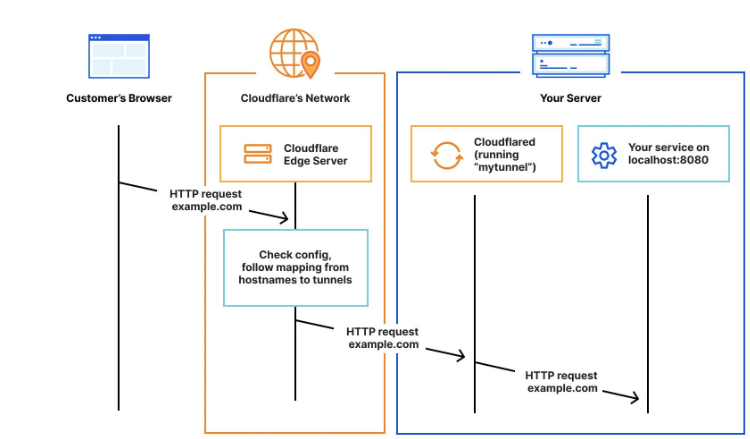
Cloudflared establishes outbound connections (tunnels) between your resources and Cloudflare’s global network. Tunnels are persistent objects that route traffic to DNS records. Within the same tunnel, you can run as many cloudflared processes (connectors) as needed. These processes will establish connections to Cloudflare and send traffic to the nearest Cloudflare data center.

The Process
Assuming you already have an account with cloudflare and the DNS of your website is already being manager by Cloudflare
all you have to do is create a new Tunnel from your website to cloudflare, which will intercept the connections before releasing to your website.
🚧 Are you getting a feeling on how this is going to work now? Let's continue...
Cloudflare Zero Trust
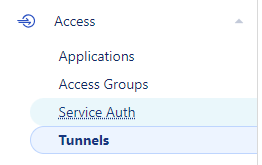
Once you login into your Cloudflare Zero Trust Module You will need to go to Access --> Tunnel

You will continue now in adding a name to your tunnel, and proceed to install the connector
The connector is installed on the server where you want the reverse proxy to work
Installing the Connector
The connector can be installed in many different ways, the best method is to use a docker container
which can be easily stop, revoked and deployed making making it the best choice for escalability.
To learn a bit more about docker containers click this link over here 🐋

Once you have the connector running on your server, and you finished going throught the steps on the Tunnel page, you are pretty much set and your subdomain will now be listening to connections on that port you just selected and forward the request to the correct port on your server.
If you have an A record on your DNS under the same name, you will need to remove it before you can create the tunnel
Adding Authentication layer

We now going to look into another featuer of Cloud Flare, which is the authnetication layer.
We can add an authenticaton layer to your website from the same settings page you have configured the Tunnel.
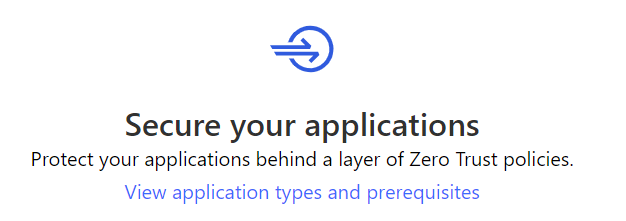
Simply click on Access->Applications and let's create a new policy that will give our website a security layer.
Depending on which application we are trying to protec we will choose a different option,if we are hosting an application on the ☁️cloud somewhere
you want pick the opion Self-hosted.

If you are familiar with Azure AD policy you will feel confortable on this page, as the set up is very straight forward.
On this page you will have fine grain control of the settings and will be able to adjust who can access and who should stay away from it.
Cloudflare Guides
There are many other features we did not mentioned but are worth mentioning like:
- Log of events
- Enhance Protection on SaaS applications
- Mitigate the impact of attacks
- Data loss prevention policies
- and more..
There are many guides from cloudflare that will help you get that extra layer of security you are after. Follow the link to open the official documentation website ☁️CloudFlare. 🔥
Summary
There are many other aspects of Cloudflare we did not look on this article, however, this post was meant to just give you a high level overview of the capabilities of Cloudflare, also to note everything we did on this short guide is free so you can go ahead now and beef up the security layer of your network. 🌐
-min.png)